Tag Archives: real food

Real Food Rice Pudding

rice pudding 1

As luck would have it, my soon to be brother in-law makes awesome Indian food. More luck, my visiting mother in-law requested an Indian food feast. Hurray! It was all delicious and wonderful and satisfying. My 2 year old ate it up, YES!

curry condiments
Photo credit

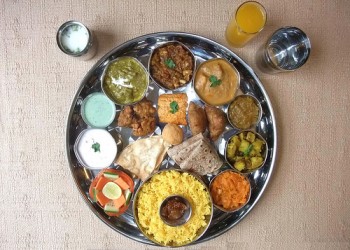
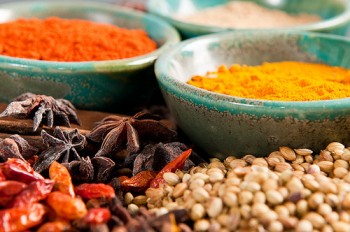
Besides the incredible main dishes, what I think absolutely makes the meal are the various chutneys, dips, spiced rice and homemade naan. Considering the spice, and I mean actual spice not heat, of Indian cooking, the condiments present an opportunity to bring even more depth to the meal. Sweet, pungent, tart, and mellowing flavors made our feast that much more enjoyable.

Have you ever made an authentic Indian dish? Let alone multiple dishes in the same day? It’s a painstaking amount of prep work, followed by a spicy and intense flurry of cooking over rippling hot oils. The foundation of the dish has to be taken to the cusp of burnt and then spices added in the right order before adding the protein or vegetable. And only then will the cook be able to turn the heat down and sigh in relief that they are (hopefully) still breathing.

4200797264_e1f1fd673f
photo credit

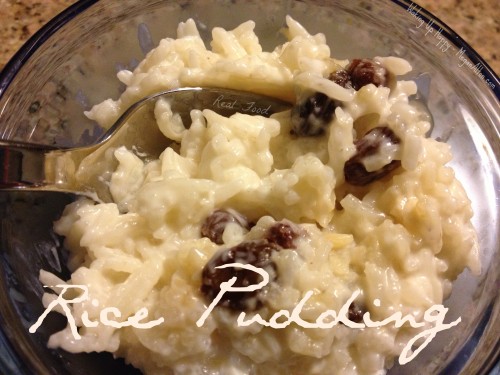
I was told to bring dessert (and I offered up green bean curry, look for that upcoming post) and considering the theme I decided upon rice pudding. It’s made with gobs of milk and cream to sooth any residual burn and bonus, it’s easy. Thing is…I’ve never had rice pudding that I particularly enjoyed, and too often I find it’s ruined by cardamom (better suited to green bean curry in my opinion).

I’m not one to back down from a food just because I haven’t found the right recipe, so I hopped on the web and studied a variety of rice puddings. The two that I focused on, before finally coming up with my own, were Alton Brown’s recipe and this one from Single Dad Laughing. My goal was to make a sweet, creamy real food version of this classic dish that still held the texture of soft rice. What came out of my experiment was creamy (not mushy) flavorful and sweet, and no cardamom.

rice
photo credit

Maybe because my palate is cleaner due to my better diet of late. Or maybe it’s the lack of sugar I’m taking in, but this pudding was good. Like, REAL good. Sweetened with maple syrup and coconut milk (which wasn’t as overpowering as it could easily have been), it was simply lovely. This made a great dessert, but would also make a nice addition to breakfast, or as a snack, or straight from the fridge on a spoon. However you eat it though, I’m sure you’ll enjoy it.

Real Food Rice Pudding

Ingredients

2 tbsp butter, organic/pastured
1.5c cooked white rice
1.5c whole organic/pastured milk
1/2c half & half OR cream
3/4c coconut milk (not coconut water)
1/4c maple syrup
1/2c soaked raisins

Make It

Place raisins in a bath of hot water to plump.

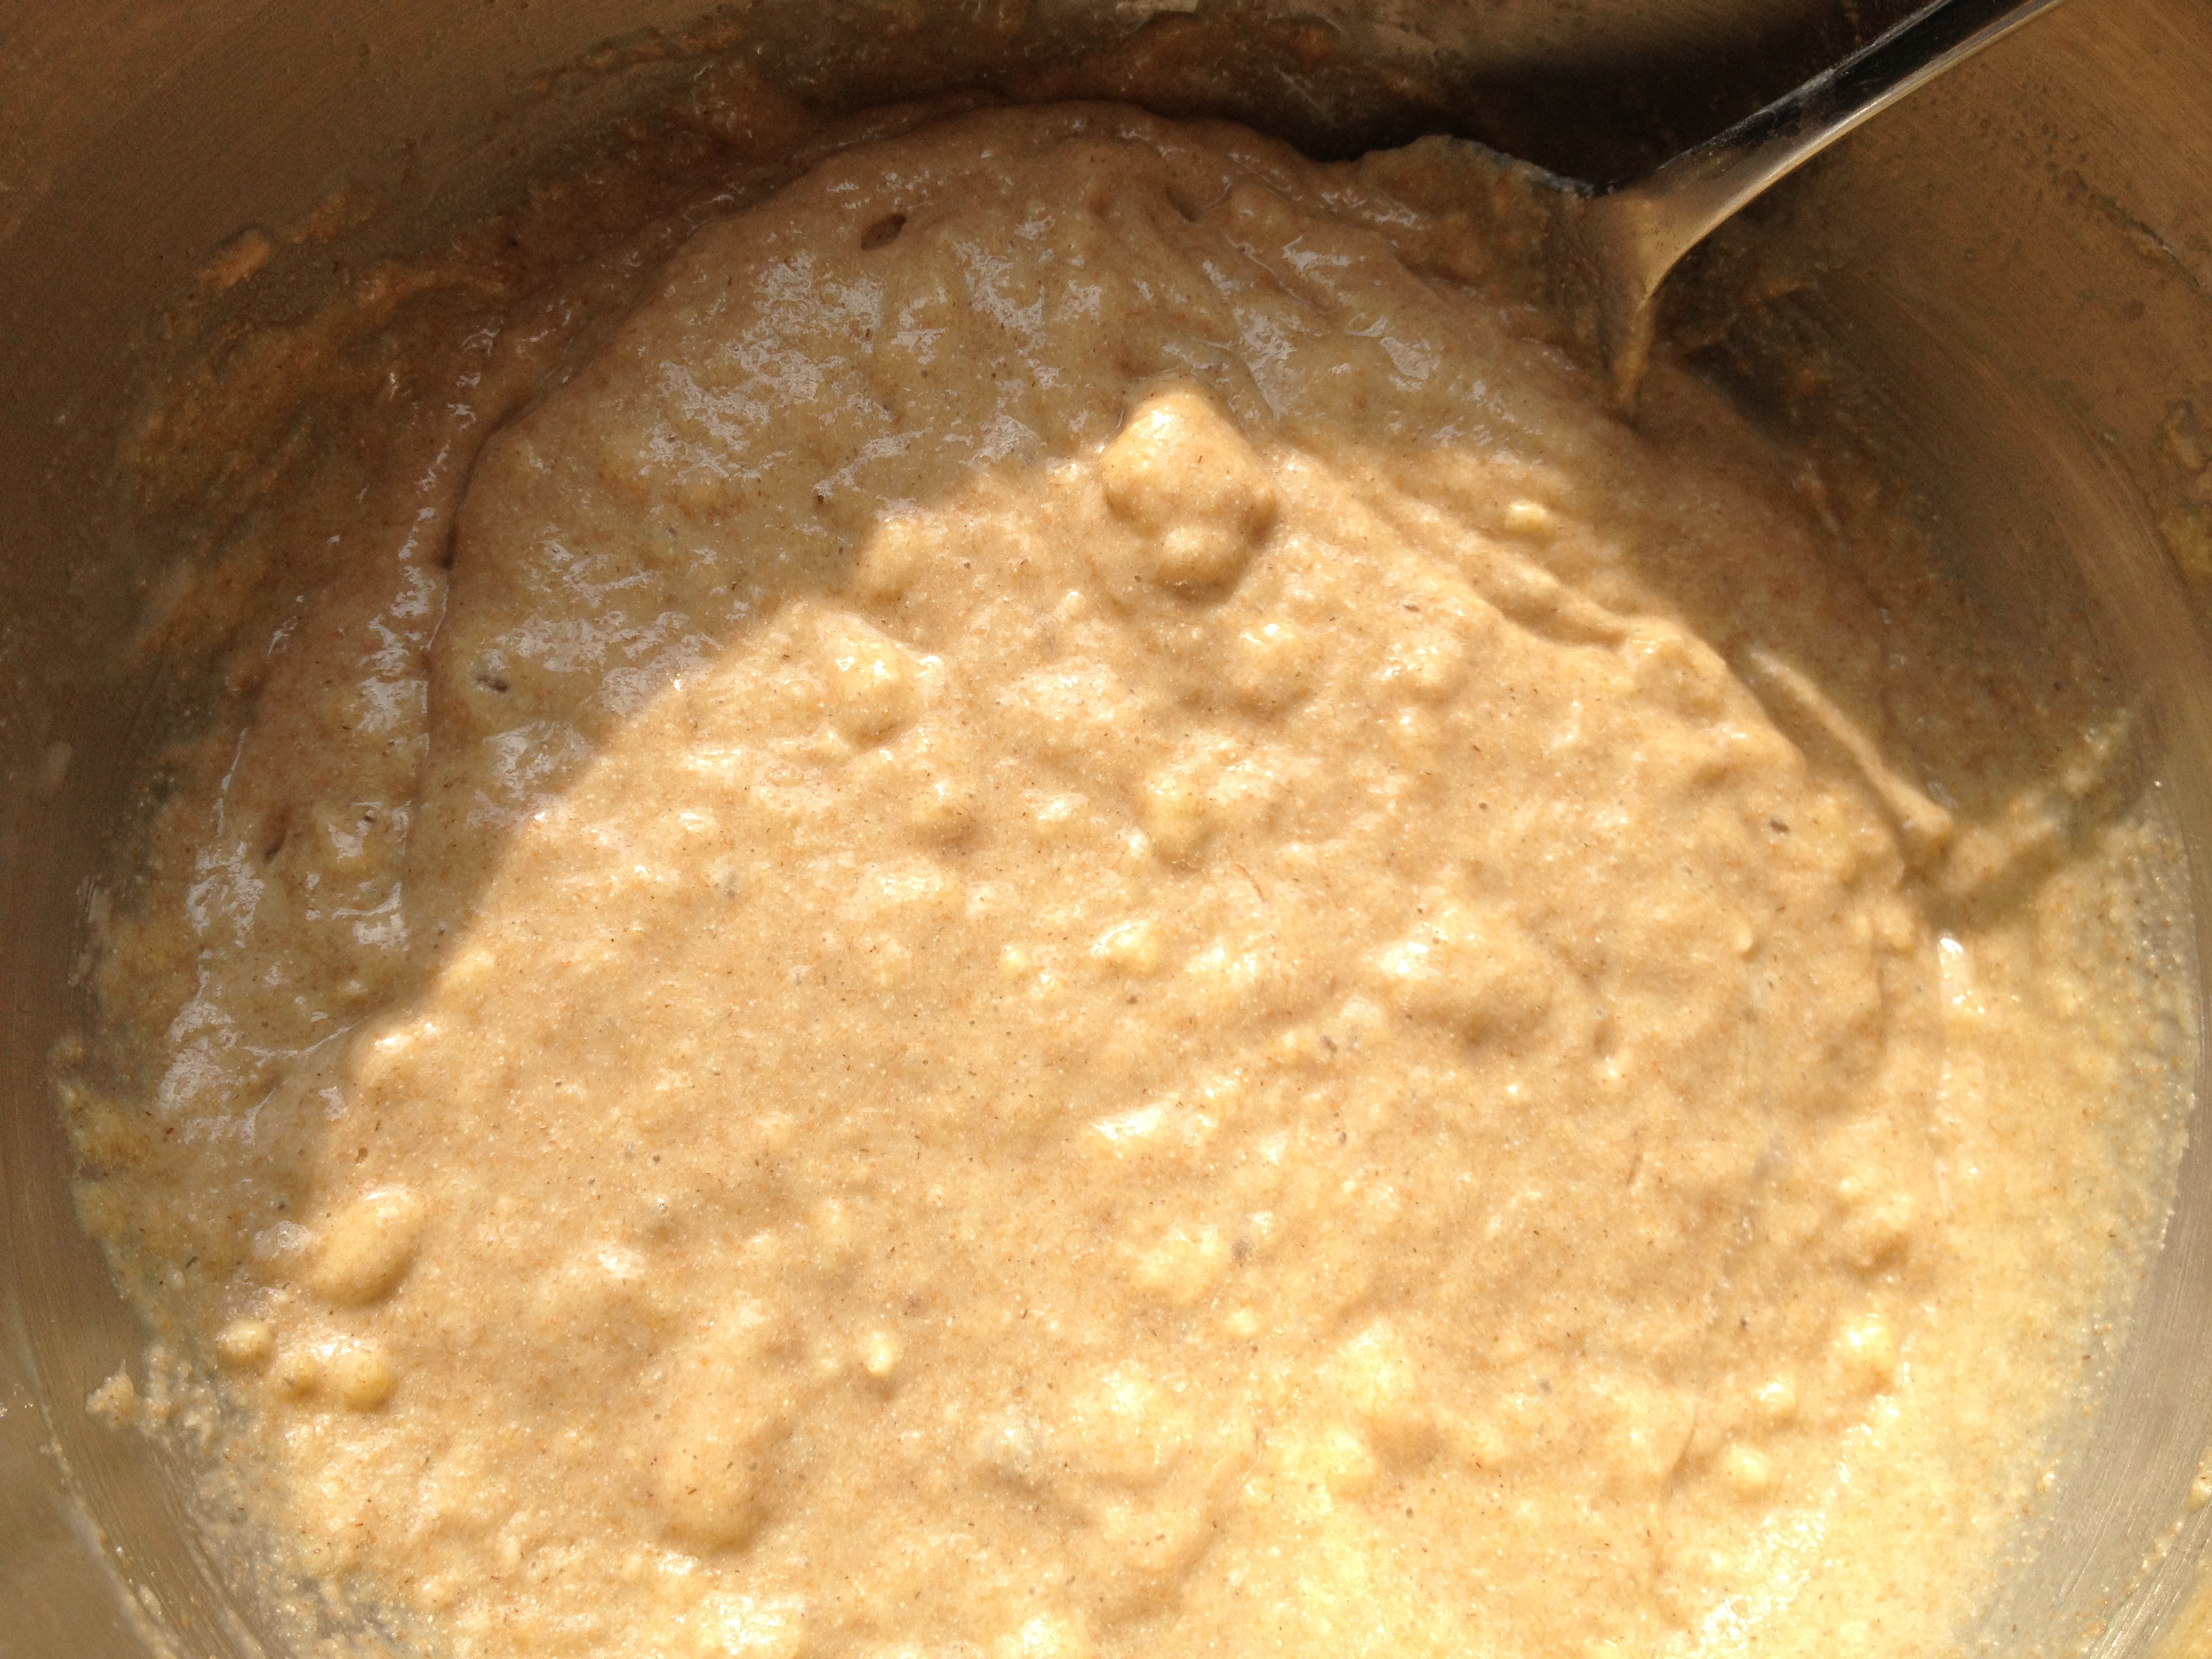
In a saucepan over medium heat melt butter and add rice. Mix until rice is covered in melted yummy goodness.

Turn heat to med/high and add milk. Stir to mix. Bring to a boil (stirring) and then turn down to a simmer. Stir regularly for 5-8 minutes until mixture thickens.

Add cream, coconut milk, maple syrup and mix. Make sure it’s still simmering. Stir until even thicker and bubbly, 10-12 minutes.

Remove from heat.

Drain raisins and add to pudding. I think a handful of sliced almonds would be a nice addition too.

Pour into a dish and cover surface of pudding with plastic wrap/wax paper. Allow to sit on the counter for 2.5 hours or refrigerate and it will firm up but maintain that beloved creaminess.

We ate ours at room temperature and that was perfect, but (again) if you absolutely MUST indulge before the allotted cooling time – no one would blame you!

This post featured in Party Wave Wednesday, Thank Your Body Thursday, Tasty Traditions, Fight Back Friday, Weekend Gourmet, Real Food Wednesday, Family Table Tuesday

Real Food Banana Bread & McCall Trip

My original cookbook, Better Homes and Gardens New Cook Book. For the "cook of the 90's"
My original cookbook, Better Homes and Gardens New Cook Book. For the “cook of the 90’s”

Did you have a specific cookbook that you learned to cook from when you were younger? Maybe Betty Crocker or Joy Of Cooking? It was, after all, a time when there was no internet and the only way to cook was from a book or a recipe written on an index card. I used this book regularly to learn cooking skills and get basic recipes, especially the Banana Bread. I could whip a loaf up in no time, and it would be demolished in no time too. I prefered it still warm with a slab of melty butter or cooled with a slather of cream cheese. It was really good.

Recently I’ve been into Real Foods, which means making a lot of the basics, i.e. bread, crackers, soup stock, kombucha. It’s been a lot of fun to find new recipes and ideas from fellow bloggers on the internet. I’ve also gotten much more competent in the baking department.

Today I looked at my counter noticed 3 brown bananas just sitting there, much to my husbands chagrin no doubt. Having just done our budget, and trying my best to be frugal (hard) I decided I had to use those organic bananas one way or another. BING! Better Homes and Gardens to the rescue!

In looking over the recipes in my beloved cookbook, I noticed that while all the recipes are from scratch, they are pretty standard ingredients. If I’ve learned anything on my Real Food and weight loss journey, regular sugar and flour hold almost no nutritional value and aren’t metabolized in the body very well.

Since Porter was going to be eating this bread over the next week I wanted to adjust it to our Real Food needs. With the original recipe I would feel like I was serving him cake on a daily basis. No bueno in my book.

What I’ve done is taken the original recipe and made it with Real Food ingredients. I only had 2 bites, but it tasted wonderful. It had the right flavor and texture and was actually pretty good for you, if you don’t eat the whole thing in one sitting. Porter enjoyed his with a think slather of pastured butter, and ate every single bite.

REAL FOOD BANANA BREAD

8″x 8″ baking pan, or use this chart to convert to the baking pan of your choice

350* oven, farenheit

Ingredients, can all be found at your local natural foods store

1 3/4 cups sprouted organic spelt flour
1/2 cup honey
2 teaspoons aluminum free baking powder
1/2 teaspoon pure baking soda
1/4 teaspoon real salt (I like Redmond’s Real Salt)
3 mashed bananas, as brown and gooey as you can get ’em
1/4 cup organic pastured butter
2 tablespoons pastured or raw milk
2 eggs, from pastured non GMO hens
1/4 cup nuts (optional)
coconut oil for oiling pan and measuring cup for honey, I prefer refined.

Preheat oven to 350* and make sure your ingredients are at room temperature.

Using the coconut oil, grease your baking pan and measuring cup for honey (this will facilitate easier pouring of honey).

In a smaller bowl mash bananas.

Add wet ingredients, including honey, to the bananas and mix.

In a larger bowl mix dry ingredients.

Add wet ingredients to dry  and mix until it looks like pancake batter. Mix in nuts.

Pour batter into baking pan.

Cook in 350* oven for 35-40 minutes, or until an inserted toothpick comes out clean. If you smell banana bread, go and check it.

Remove pan from oven and let cool on cooling rack ~20 minutes.

Turn loaf onto a cooling rack and try to resist it as long as possible. If you absolutely must cut into it before it’s totally cool, everyone will understand.

Bon appetite!

This post featured on: Tasty Traditions

***

Thanks to Luke’s co-worker we got to enjoy the long weekend in McCall, Idaho. It was a winter wonderland, complete with log cabins and sledding. Trips like this are wonderful and exciting and I can’t wait to do it again. Here’s the photo journey.

We stayed in the cabin on the left.
Moon with a view.
Moon with a view.
Pink snow.
Pink snow.
Cabin interior. Door on left, with bunk beds, gas stove in center with kitchen, on right of the divide a large jacuzzi tub and full bathroom, views out every window. Log cabins rule!

IMG_2930

"Burrito buddies"
“Burrito buddies”


Frozen fog makes delicate ice crystals on all the branches, turning trees white.
Long Valley, before sunrise.
We left before the sun came up over the mountains, stunning.
Big red barns everywhere.

IMG_2959

Real Food Cha Cha’s Chicken Sofrito

sofrito
A Facebook friend, who I knew briefly in 7-8th grade, made a status update that spoke of a delicious Dominican dish, Sofrito. In the comments someone asked for the recipe and she gave a brief description of how her friend Chacha taught her how to make Sofrito in a small New York kitchen years ago. It sounded delish. I Googled “sofrito” and was presented with many different recipes, however, my FB friend’s sounded the best. As it turns out, Chacha has a new website, Chacha’s Kitchen, but this recipe isn’t on it yet. I’m reposting (my real food interpretation) here for you, for me, and because both Chelsea and Sarah wanted the recipe. I doubled the recipe and had lots of leftovers, which were even tastier. It’s a one pan wonder too, bonus! Thank you Chacha, for this fantastic Latin American dish.

Chacha’s Chicken Sofrito

INGREDIENTS

1 whole chicken raised on pasture, cut into sections or 6-8 pieces of chicken. I used bone-in legs and thighs because they’re cheap, but boneless is certainly faster.
4 tbsp coconut oil
2 small onions chopped
6-8 garlic cloves, chopped
1 tsp oregano
salt/pepper to taste
2 tsp tomato paste, from a glass jar
2 bell peppers, chopped
4 small tomatoes, chopped with juice and all
2 handfuls cilantro, chopped
2+ tbsp capers
1/2+ cup sliced olives (I used green)
1 lemon, juiced
hot sauce to taste (Chacha recommends Cholula, I had Tapatio on hand)
avocado (optional garnish, but mighty good)

1. In a big pan brown the chicken in oil for 2-3 minutes per side. Remove chicken and set aside.
2. In the same pan saute onions and garlic until the onions begin to turn translucent.
3. Add oregano, salt/pepper, tomato paste and mix. Turn heat to low, cover pan, and cook for 5 minutes.
4. Add peppers, cilantro, diced tomatoes, capers, olives, lemon juice and hot sauce. Stir it up!
5. Add chicken back to the pan with the Sofrito and cook for 30-45 minutes, if you’re using boneless chicken cook for 10 minutes or until a meat thermometer reads 165*F. Chicken should fall off the bone.I served the dish over rice with fresh avocado. It was REALLY good, tangy and savory. Every bite that Porter took he literally made the “mmm” sound as the spoon touched his lips. If my 19 month old can appreciate this meal, you will too.

This recipe featured on Tasty Traditions, Thank Your Body Thursday